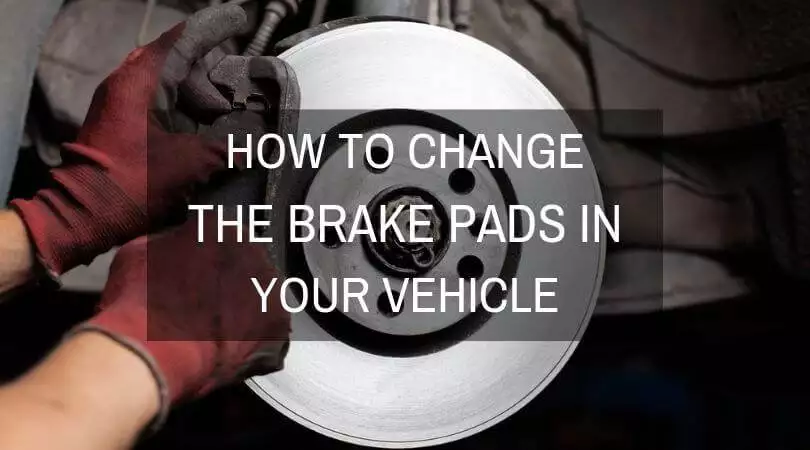
One of the most basic DIY or do-it-yourself items in your vehicle is the brake pads. The brake pads rub against the rotor or brake disks to create friction while stopping the vehicle. And as you might have guessed, brake pads are consumable and are not designed to last forever.
More...
When Should I Change The Brake Pads?
It depends on a variety of factors including the severity of use, driving habits, and the type of friction materials in the brake pads. Generally speaking, brake pads should be replaced at least every 50,000-miles. But then again, it also depends on the make and model of your vehicle.
In order to determine the best time to replace the brake pads, you can check in two ways: consult the owner’s manual or perform a physical inspection. In most cases, you won’t need to remove the wheels and tires to take a peek at the brake pads. If the brake pads are thinning to the metal, it’s probably a good time to replace them as soon as possible.
What Are The Symptoms Of Worn Brake Pads?

If you’re not mechanically-inclined to check the brake pads, there are symptoms to watch out for if the pads are worn out. Most OEM brake pads are fitted with warning systems that emit a sharp squealing noise if the pad needs replacement. If you constantly hear a metallic squealing noise as you drive, it means the brake pads are worn out.
Other symptoms to watch out for are jittery and weak brakes. However, jittery brakes are also an indication of warped rotors.
This article will discuss the easy steps on how to replace the brake pads in the front wheels. Vehicles equipped with rear disc brakes also have brake pads, but they are trickier to remove due to the parking brake.
How To Replace Brake Pads
Before replacing the brake pads, here are the materials you need to ensure a safe and smooth removal procedure.
Step 1: Park the vehicle in a safe, level, and a solid floor. Remember this every time the vehicle is lifted with a jack and jack stands. Working over soft or loose surfaces like soil and sand is not advisable when lifting the vehicle off the ground.
Step 2: Loosen the lug nuts on the wheel. Use the tire wrench to loosen each nut in the wheel. Do not remove the nuts completely.
Step 3: Raise the vehicle using a jack. Check the owner’s manual to determine the jacking points under your vehicle. Placing the jack in an unsafe part of the chassis will cause permanent damage, so be mindful when doing so.

Step 4: Secure the lifted vehicle using a jack stand. Never get under the vehicle unless the car is supported by jack stands. It’s also important to point out to always use a jack and jack stand rated to support the weight of your vehicle.
Check the owner’s manual to determine the safest and most secure spot under the chassis. This is where the jack stand should be placed.
Lower the jack and make sure the vehicle is riding securely on top of the jack stand.
Step 5: It’s now time to fully loosen the remove the lug nuts from the wheel. Remove each nut using the tire wrench and set aside.
After removing the nuts, pull out the wheel from the hub and set aside as well.
You now have free access to the brake caliper.

Step 6: There are two main bolts in the inside part of the caliper. Use a socket wrench to loosen and remove each bolt on the top and bottom of the caliper.
After removing the bolts, you can slide off the caliper from the rotor.
At this point, the caliper is still attached to the brake hose. Do not leave the caliper hanging by the hose as you work on the brake pads. Place the caliper on top of the rotor or use a piece of metal wire to hang the caliper safely as you work on the vehicle.
Step 7: After removing the caliper, you can now remove the brake pads. There’s a pad resting on the outside and inside of the rotor. Pull out each pad slowly to remove them from the rotor.
Each pad has a metallic backing plate. Remove the plate from the old brake pads and use them on the fresh set of pads. In some cases, a new metallic plate is included in the box.

Step 8: Make sure the new brake pads are of the right size and fitment. After making sure for correct fitment, it’s important to apply a light coat of brake grease on the back or metal part of each brake pad. This protects the calipers and pistons from rust and corrosion while preventing brake squeak.
Do not apply brake grease on the friction material of the pad!
I like using the CRC Silaramic Ceramic fortified Brake System Grease for this step. It protects all moving caliper hardware and works in extreme temperature ranges from -50 to 300 degrees Fahrenheit.
Squeeze out a small amount of brake grease and use your finger to apply a light coat over the metal backing in each brake pad.
Step 9: Insert the fresh brake pads back in the rotor assembly. Push each pad in place and make sure the friction material is touching the rotor.

Step 10: Push back the piston before reinstalling the caliper. When you removed the caliper, the brake pads are worn and the piston is pushed further out. You’ll need to push the piston back using a brake tool like the Capri Tools Disc Brake Pad Spreader Tool.
The trick is to use the old brake pad and place it in the piston. Grab the brake tool and place the other end of the tool to push on the brake pad. Turn the knob to push the piston all the way down.
After adjusting the piston, you can now reinstall the caliper.
Step 11: Reinsert the caliper in the brake assembly. Reinstall the bolts and tighten sufficiently using the socket wrench.
Step 12: Place the wheel back in the hub. Insert each lug nut and tighten it just enough to hold the wheel in place.
Step 13: Jack up the vehicle once again, remove the jack stand and lower the vehicle to the ground. You can now tighten each lug nut fully using the tire wrench.
Repeat the above steps to replace the brake pads on the other side of the vehicle.
Conclusion
Using basic tools and a modicum of common sense, you can easily and safely replace the brake pads in your vehicle. Not only will it give you a better understanding of the brakes in your vehicle, but it’ll also help you save a bit of cash in the long run.
