Introduction
On-board diagnostics (OBD) takes advantage of all the computer wizardry going on under the skin of a modern car to search out any problems in its various systems. Scanners then relay information about these problems to a mechanic in the form of an alphanumeric code known as a Diagnostic Trouble Code (DTC). The mechanic (professional or DIY) can then find out the nature of the problem by looking at the code up in the manufacturer’s documents or online.
More...
A Brief History

On-board diagnostics systems were being installed in passenger cars as early as 1968. They came about because of the auto industry’s adoption of electronic fuel injection (EFI) over carburetors. Fuel injection was more efficient and produced less harmful emissions than the alternative but it also required a much finer tuning of the engine and fuel systems. On-board diagnostics provided the ability to do just that.
At first, the codes and the connectors that mechanics used to discover them were different for every automaker. It wasn’t until the late 1980s that the Society of Automotive Engineers (SAE, the same people that provide oil ratings) suggested that the codes and connectors should be standardized.
What Is OBD2?

OBD2 was created in 1996 when the US government made a law stating that every new car sold in America should have standardized onboard diagnostics abilities. Yes, there was an OBD1, but it only came to be known as that after the introduction of OBD2. The first version often didn’t use a scanner, relying instead on a Morse code-like pattern of flashes from the check engine light on the dash, code readouts from climate control systems, or led light patterns to tell mechanics what the problem was.
OBD2 gives much more detailed information with the added benefit of standardization. The trouble codes, connectors, and general location of ports are now the same across all vehicle manufacturers. The only notable variation between OBD2 equipment/software is the slight difference in shape between connector ports for 12V and 24V vehicles. The 24V version works with any OBD2 port but the 12V will only work with ones installed in 12V vehicles.
What Can An OBD2 Scanner Tell You About Your Car?

A lot! Diagnostic trouble codes are displayed in a combination of letters and numbers. All codes start with the letters P, B, C, or U.
P = Powertrain.
This prefix deals with your car’s engine, transmission, driveshafts, and differentials. Basically, if it’s needed to move the car and there’s a problem with it you’ll get a code starting with the letter P. Higher-end OBD2 scanners have the ability to self-correct smaller issues but bigger problems involving damaged parts can’t be remedied like that.
B = Body
B codes can mean that there are problems with things like door latches and locking mechanisms. If you’ve ever had your car alarm go off all night for no reason you understand how important having all those sensors working properly can be. B codes also detail problems with airbags and climate control.
C = Chassis
C codes indicate that you may have a problem with your car’s suspension or braking systems. ABS and, on newer cars, adaptive suspension are covered by these codes so it’s especially important to heed their warnings.
U = User Network
The final of your vehicle’s major systems, U codes refer to issues with wiring and electrically operated accessories.
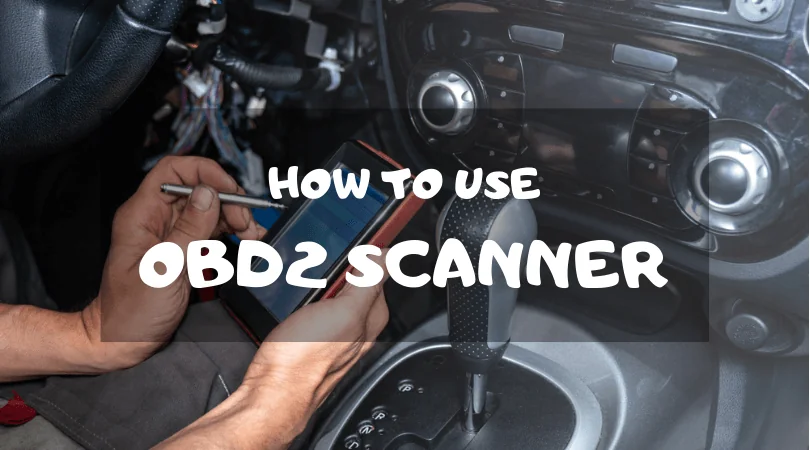
How To Use An ODB2 Scanner In 7 Steps

1) Switch Off And Plug-In
Make sure that your vehicle’s engine is switched off and plug the scanner into the OBD2 port. Ports are usually under the dash near the steering column, but can also be under the dash on the passenger side, behind the radio, or under the center tunnel.
2) Start Your Car And Start Your Scanner
Start your car’s engine. The scanner should switch on automatically but usually comes with a power button just in case.
3) Input Vehicle Information
Once the scanner boots up it will likely ask you for information about your vehicle. Examples of things you may need to tell your scanner are the model name, trim package, engine information, or the vehicle identification number (VIN).
4) Perform The Scan
The scanner will then go to work looking for error codes or tuning irregularities within your vehicle’s various systems. It may begin this process automatically once you input your vehicle information or it may require you to press a start button.
5) Make Note Of The Codes
Once the scan is complete the scanner will display the diagnostic trouble codes for any issues that were found. Modern scanners come with the ability to share this information with laptops and smartphones through Bluetooth. Older scanners require a good old fashioned pen and paper approach to make sure you don’t forget any error codes that they display.
6) Switch Off Your Car And Unplug Your Scanner
Take care not to damage the connector when you unplug your scanner. Some scanner connectors come with latches to lock them in place and guarantee a good connection while scanning. Make sure there’s nothing holding the connector in place before yanking it too hard.
7) Check The Diagnostic Trouble Codes
Time to decode what your scanner’s telling you. Begin by checking for the codes in the scanner’s user manual. Manuals often contain only the broadest of error codes but they can give you a good place to begin your investigations. Next, check websites and brand-related forums for the exact codes. This step should answer any questions you may have about mystery codes.

Summary
OBD2 scanners unlock the mysteries of the modern car and give us the ability to find out exactly what’s going on with our vehicles. Using standardized trouble codes to identify problems allows amateur and professional mechanics to get right to the root of them. If you don’t want to perform repairs yourself, an OBD2 scanner makes sure you’re informed and not at risk of being overcharged by unscrupulous mechanics. They’re the Rosetta Stone of the automotive world and a great tool to know how to use!